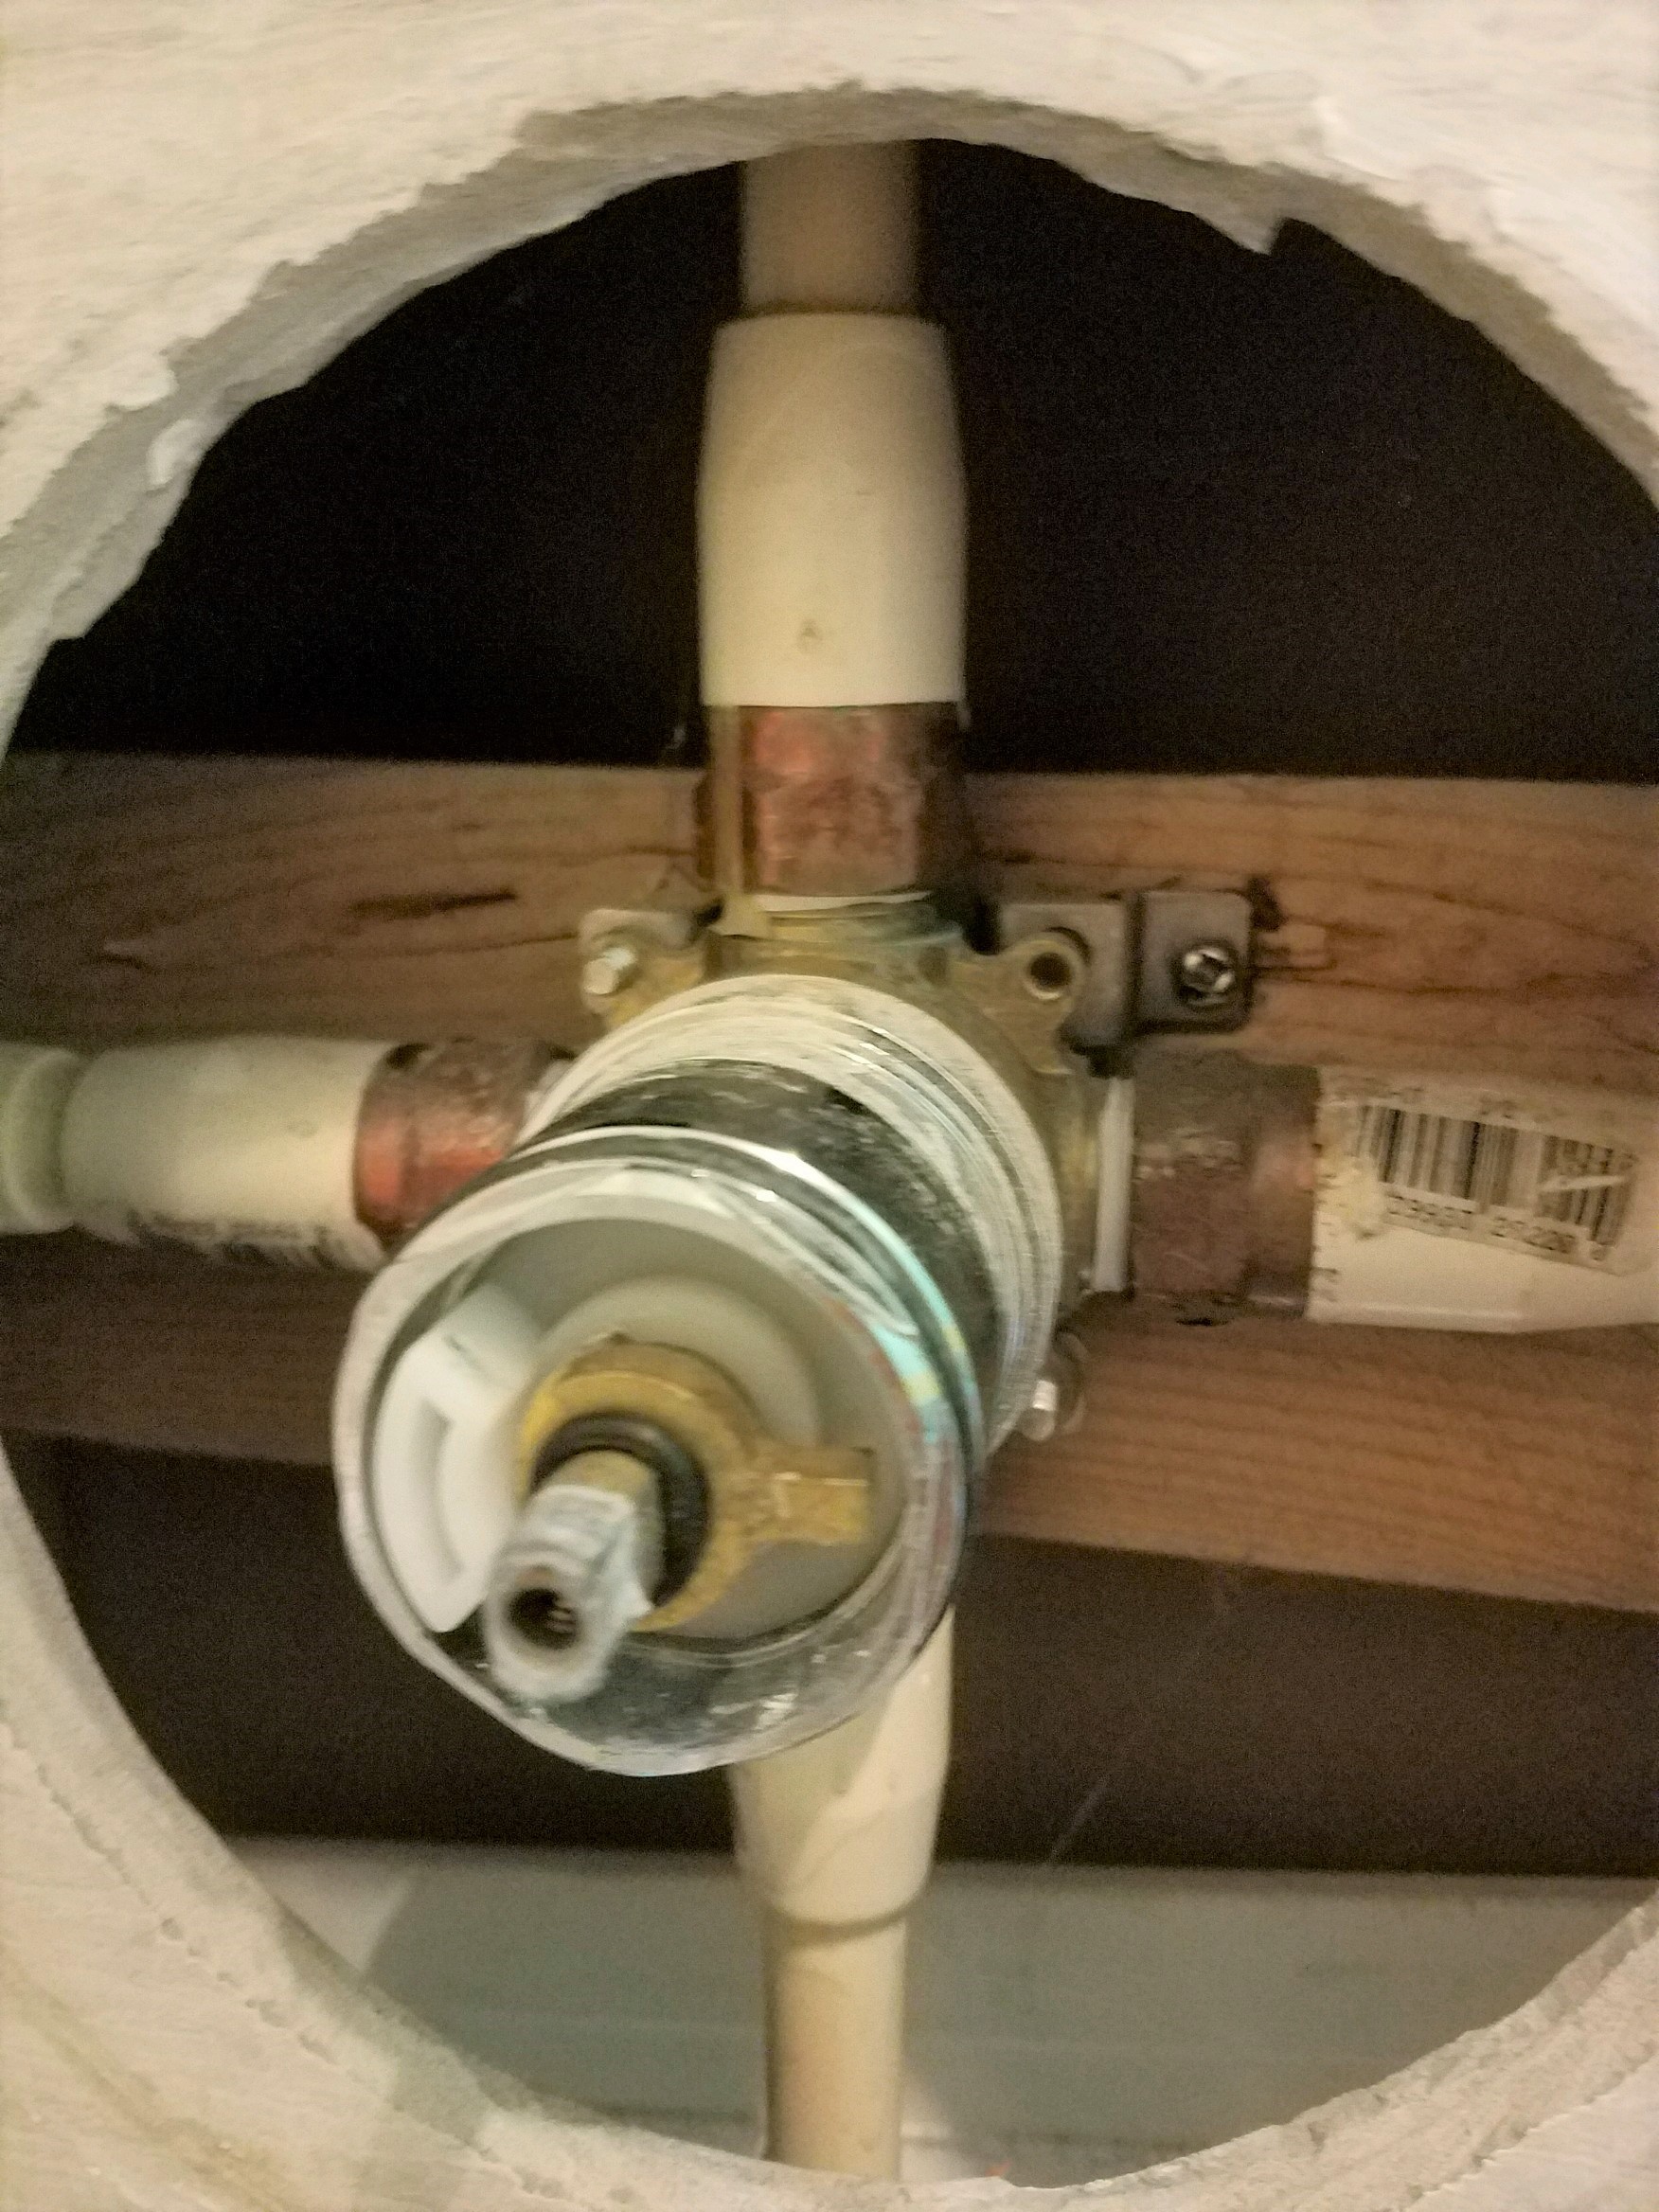
Conquer Your Drippy Shower: The Ultimate Guide to Delta Single Handle Cartridge Repair
Tired of that incessant drip, drip, drip from your shower? Is your water bill slowly creeping upwards while your patience steadily dwindles? You're not alone. A leaky shower can be a major annoyance, not to mention a drain on your wallet and the environment. But before you call an expensive plumber, consider this: fixing a Delta single handle shower faucet is often a surprisingly simple DIY project, especially if the culprit is a worn-out cartridge.
Delta single-handle shower faucets are incredibly common in homes across North America. Their sleek design and ease of use have made them a popular choice. But like any mechanical component, the heart of these faucets – the cartridge – can eventually wear out, leading to drips, leaks, and inconsistent water temperature. Understanding how this cartridge functions and how to replace it can empower you to take control of your plumbing and save a significant chunk of change.
The history of the Delta single handle shower faucet is intertwined with the rise of modern plumbing conveniences. As homeowners sought more streamlined and user-friendly fixtures, single-handle designs became increasingly popular, replacing the older two-handle systems. Delta, a well-known plumbing manufacturer, played a significant role in popularizing this design. The cartridge system simplified the control of both water volume and temperature, making showering a much more convenient experience. However, this convenience relies on the proper functioning of the cartridge. A faulty cartridge can lead to a variety of issues, including drips, leaks, difficulty adjusting temperature, and even complete faucet failure.
The cartridge is essentially a valve within the faucet body that controls the flow and mix of hot and cold water. It’s a relatively small, cylindrical component typically made of plastic and rubber. Over time, mineral deposits, wear and tear, and corrosion can compromise the cartridge's seals, leading to leaks. Identifying a faulty cartridge is usually straightforward. Persistent dripping, difficulty controlling water temperature, or a handle that feels stiff or loose can all indicate a cartridge problem.
Replacing a Delta single handle shower cartridge is a relatively simple process that can often be completed in under an hour with basic tools. You’ll need a few common tools like a Phillips head screwdriver, an Allen wrench, and possibly pliers. Before starting, it’s crucial to turn off the water supply to the shower. This typically involves shutting off the main water valve to your house or, if you have one, the isolation valve specifically for the shower. Once the water is off, you can begin the process of removing the handle, escutcheon plate, and retaining clip that holds the cartridge in place. The old cartridge can then be pulled out and replaced with a new one, ensuring a proper fit and seal.
One benefit of tackling this repair yourself is the significant cost savings. Calling a plumber can easily cost hundreds of dollars, while a replacement cartridge typically costs less than $50. Plus, you'll gain valuable DIY skills and the satisfaction of fixing something yourself.
Another advantage is the immediate improvement in water efficiency. Fixing a leaky shower can save gallons of water per day, reducing your water bill and your environmental impact.
Finally, replacing the cartridge often restores the smooth operation of your shower faucet, eliminating the frustration of a dripping or malfunctioning handle.
Advantages and Disadvantages of DIY Delta Single Handle Cartridge Repair
| Advantages | Disadvantages |
|---|---|
| Cost savings compared to hiring a plumber | Requires some basic plumbing knowledge and skills |
| Improved water efficiency and lower water bills | Potential for damaging the faucet if not done carefully |
| Increased DIY skills and self-sufficiency | Time investment required for the repair |
Best Practice 1: Turn off the water supply before starting any work.
Best Practice 2: Identify the correct cartridge model for your Delta faucet. This information can usually be found on the original cartridge or in the faucet's documentation.
Best Practice 3: Use the appropriate tools to avoid damaging the faucet components.
Best Practice 4: Lubricate the O-rings on the new cartridge before installation to ensure a proper seal.
Best Practice 5: Test the faucet thoroughly after the repair to ensure the leak is fixed and the water temperature is functioning correctly.
FAQ 1: How do I know if my Delta shower cartridge needs replacing? A dripping faucet, difficulty adjusting temperature, or a stiff handle are common indicators.
FAQ 2: Where can I buy a replacement cartridge? Hardware stores, plumbing supply stores, and online retailers typically carry Delta cartridges.
In conclusion, repairing a Delta single handle shower cartridge is a manageable DIY project that can save you money, conserve water, and improve the functionality of your shower. While it might seem daunting at first, the process is relatively straightforward with the right tools and a little patience. By taking control of this simple repair, you'll not only fix a leaky shower but also gain valuable skills and the satisfaction of knowing you did it yourself.
Adding a festive touch the importance of baby shower favors distintivo de baby shower
Conquer the undead your ultimate guide to tier list map zombies
San antonio tx s san antonio 2786


